

An epoxy floor is only as good as the concrete underneath it. The coating itself gets most of the attention — the colour, the flake, the gloss — but in Thunder Bay garages, the work that decides whether that floor lasts or peels in its first spring happens before any epoxy is opened. That work is preparation: diamond grinding, crack and pitting repair, and moisture testing. Skip a step or coat over a problem, and even a good product will fail. Do it properly, and the coating bonds to sound concrete through freeze-thaw, road salt, and years of use.
Why Preparation Decides Coating Life in Thunder Bay
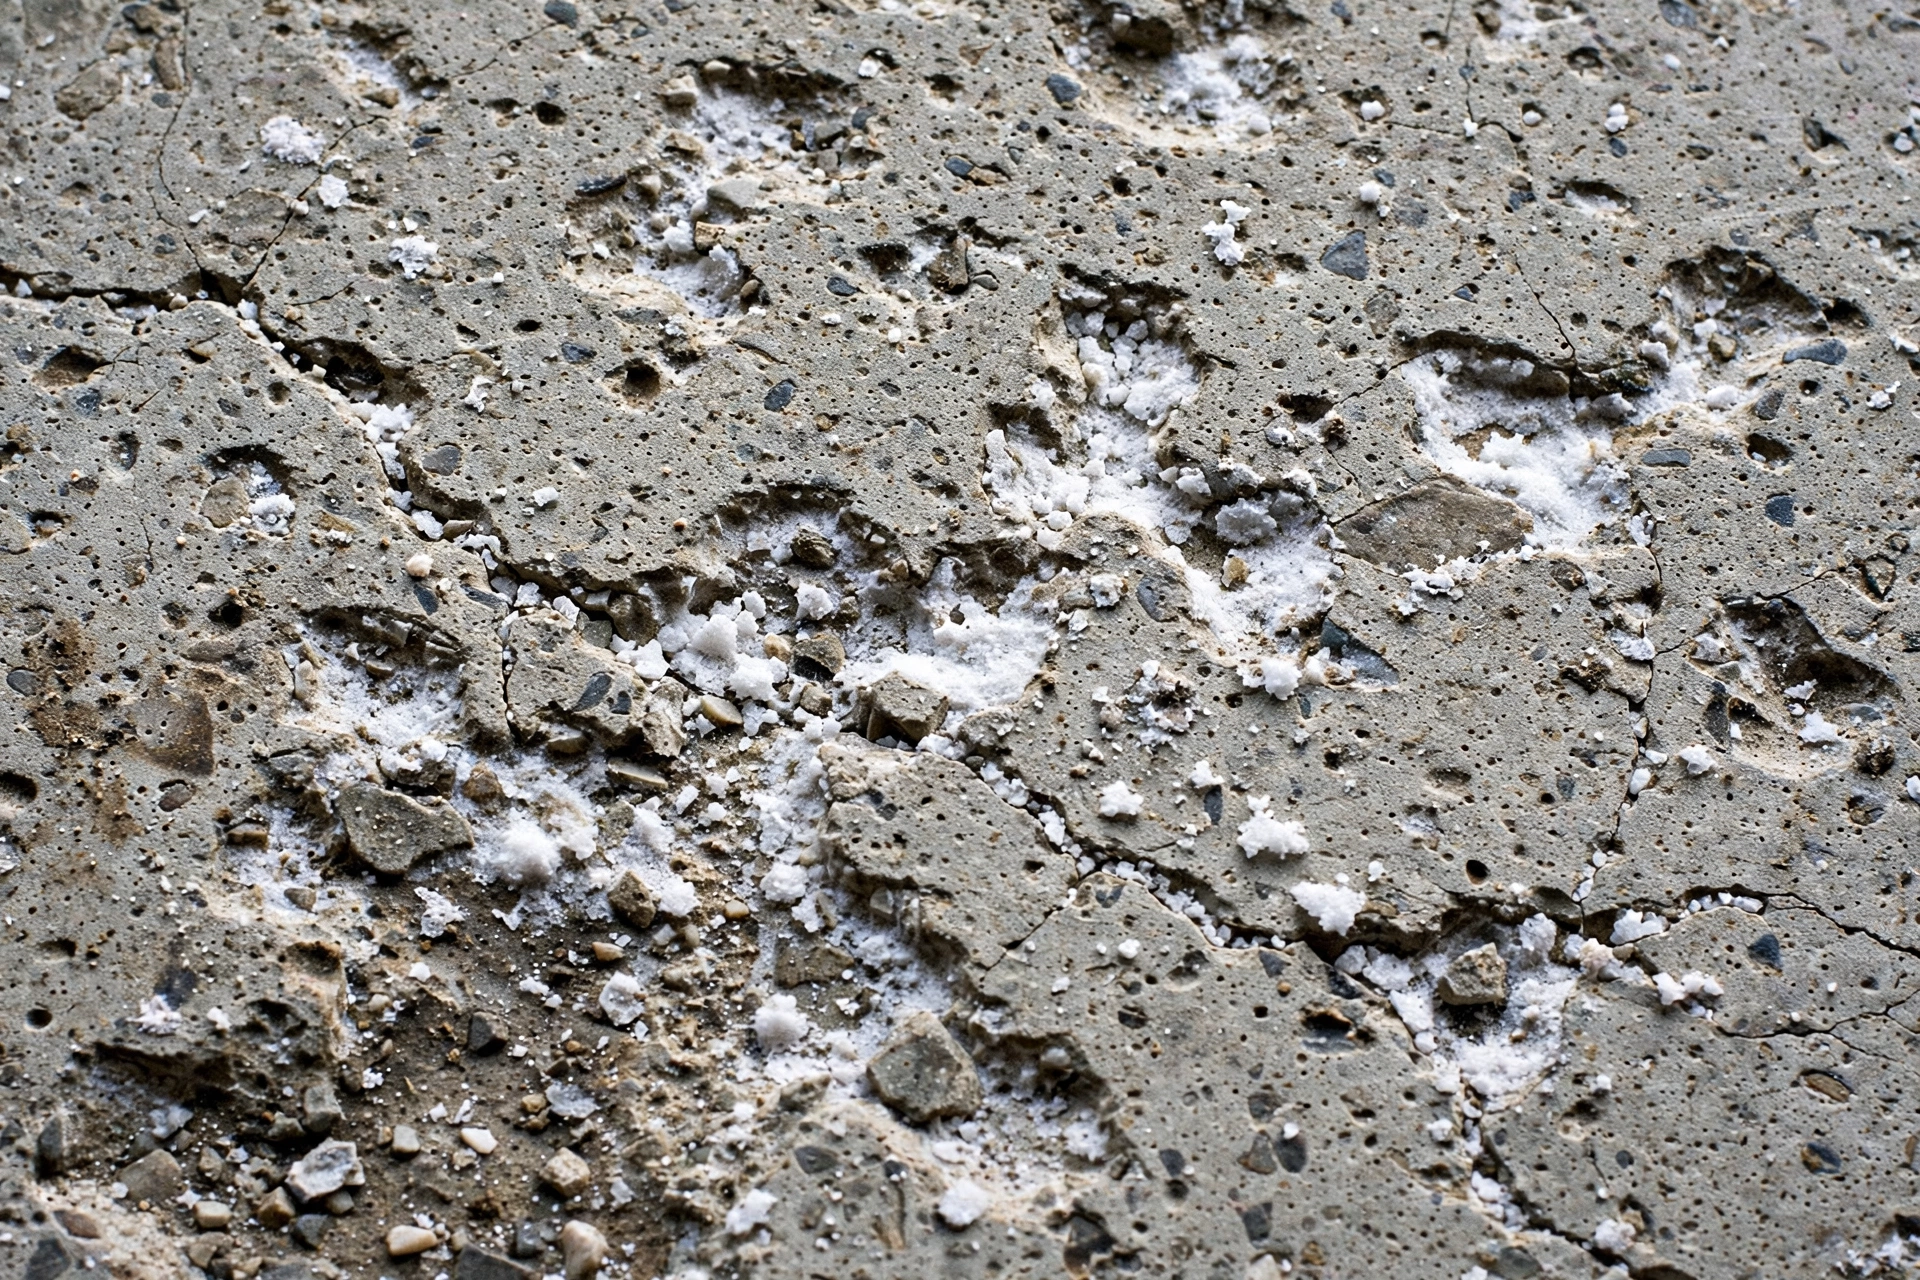
Thunder Bay concrete lives a hard life. All winter, vehicles carry road salt and brine in off streets and highways and drop it on the garage floor, where it sits in meltwater for weeks. Salt accelerates surface breakdown, and freeze-thaw does the rest: water works into tiny cracks and pores, freezes, expands, and widens them a little more each cycle. By spring, many slabs show pitting, scaling, and a rough, dusty surface — especially in the tire tracks and along the door line where slush collects.
Age adds to it. Older garages in Port Arthur, Fort William, Westfort, and Current River often have slabs that have seen decades of winters, oil drips, and studded tires or chains, with no sealer left to speak of. Newer subdivisions usually start cleaner, but even a newer slab can be too smooth, too damp, or contaminated for a coating to bond. Preparation is how all of that is dealt with — not covered up, but removed, repaired, and tested — so the garage floor epoxy system has clean, sound, dry concrete to grip.
Step 1: Inspecting the Slab Before Anything Else
Preparation starts with a close look, not a grinder. The installer walks the whole floor and checks for cracks, pitting and spalling, oil and paint contamination, previous sealers or coatings, low spots where water pools, and movement at control joints and along the foundation walls. Areas that sound hollow, crumble, or flake under a scraper are marked for deeper grinding or repair.
This inspection also sets expectations honestly. A hairline shrinkage crack is routine. A wide, heaved crack that keeps opening each spring can point to movement below the slab, and coating over it without addressing it will simply telegraph the crack back through the finished floor. In older Westfort and Fort William garages, it is common to find solid concrete in the middle, salt-eaten concrete at the door, and oil-soaked concrete where a vehicle has parked for years — each zone treated differently.
Step 2: Diamond Grinding — Creating the Profile the Coating Needs
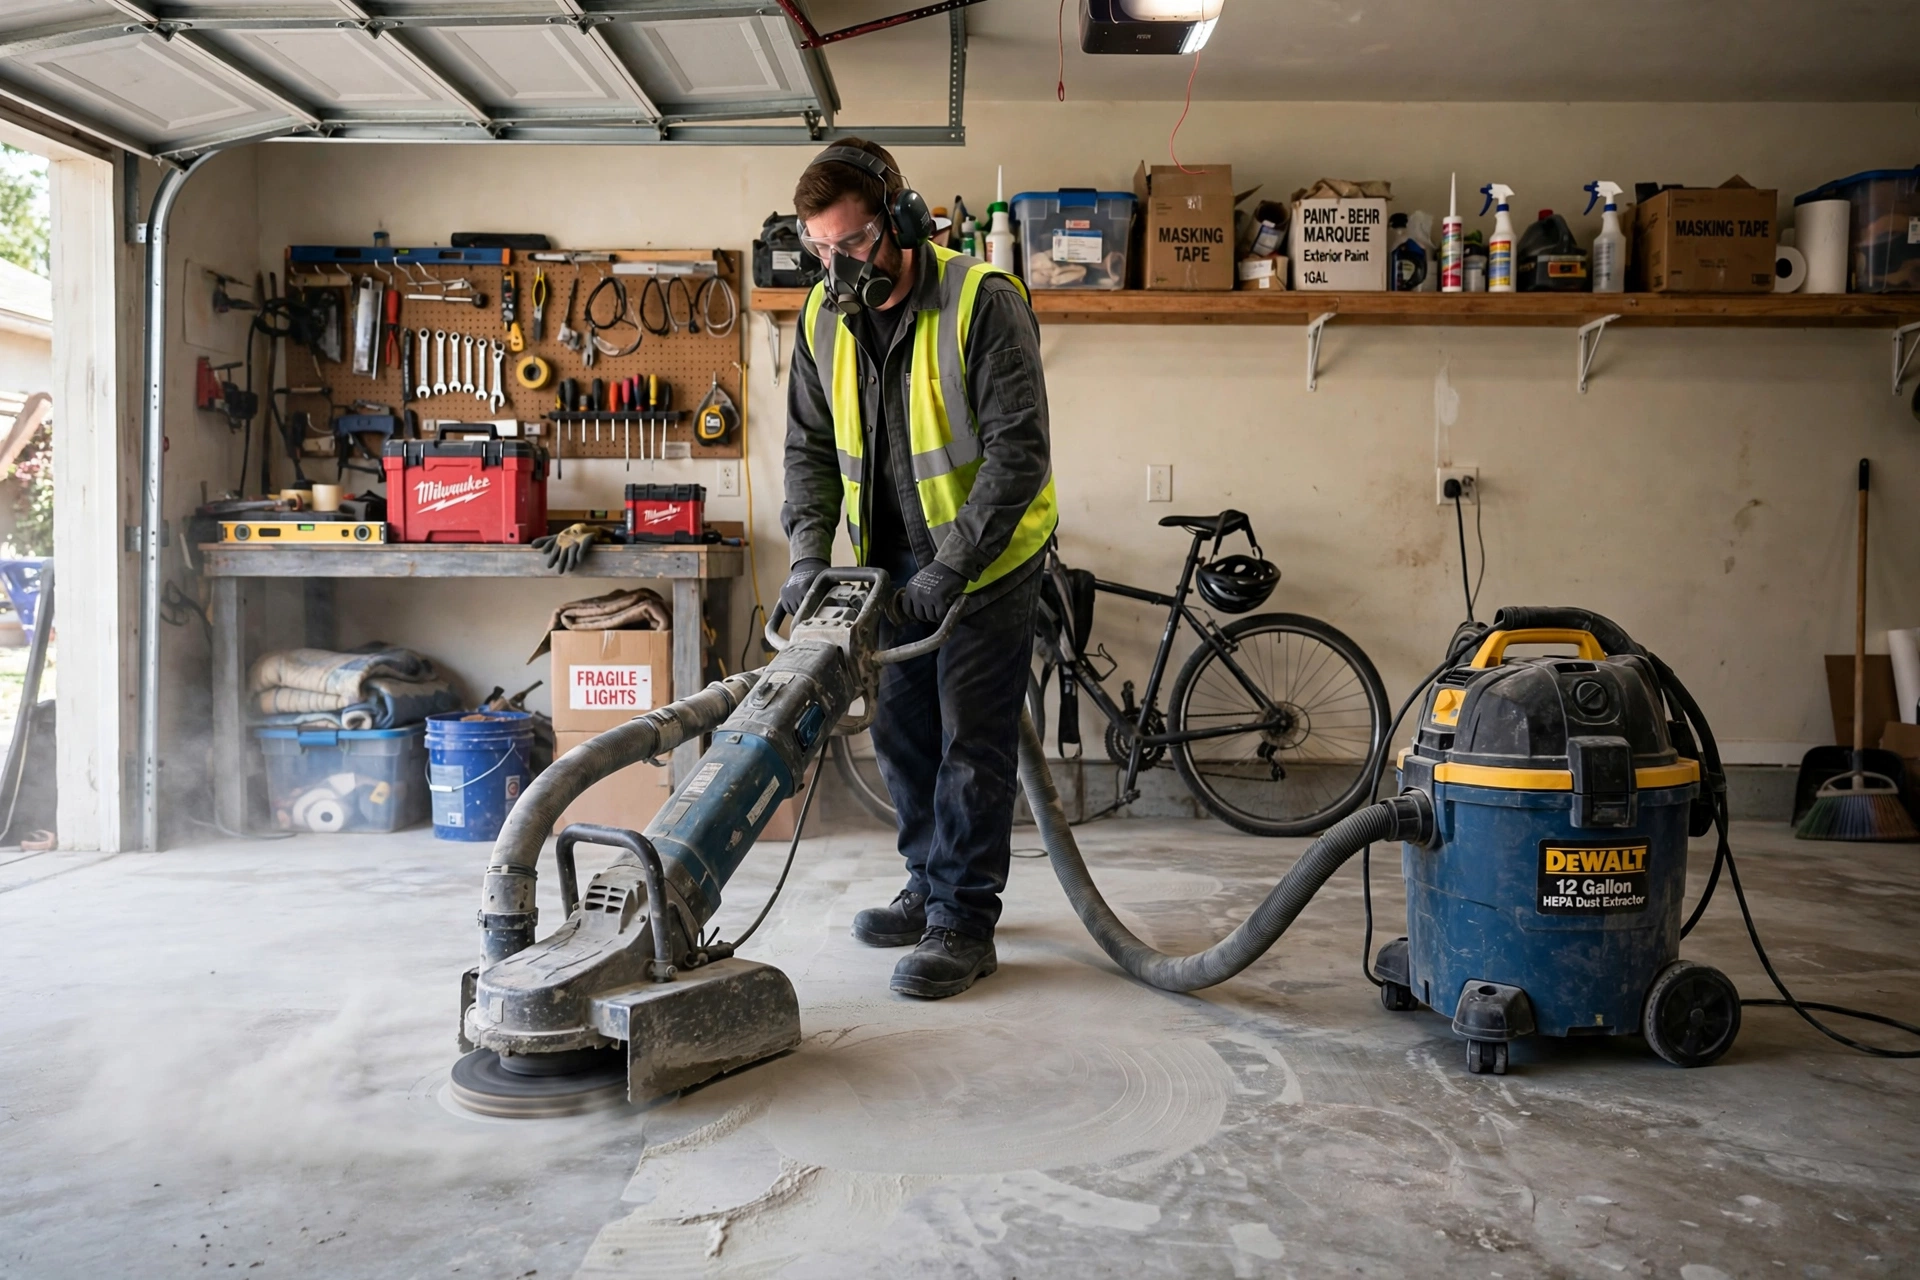
Grinding is the core of professional preparation. A walk-behind diamond grinder, connected to an industrial vacuum for dust control, removes the top layer of the concrete and opens its pores. That does three things at once. First, it strips away weak, salt-damaged, and contaminated surface concrete until sound material is exposed. Second, it removes old sealers, paint, and surface laitance — the weak, chalky layer on many trowelled slabs — that would otherwise prevent bonding. Third, it leaves a consistent surface profile, a light texture similar to fine sandpaper, that the primer can mechanically lock into.
That profile is the difference between a professional system and a thin DIY kit applied over acid-etched concrete. Acid etching cleans, but it does not reliably remove damaged concrete, does not create a uniform profile, and often leaves residue in the pores. On a smooth, power-trowelled Thunder Bay slab, a coating over etching alone can sit on top of the surface instead of gripping it, and hot tires and freeze-thaw will find that weak bond quickly. Grinding is slower and louder, and it generates dust that has to be captured at the source — but it is what makes the bond structural rather than hopeful.
Edges, corners, and steps are finished with smaller hand grinders so the profile is consistent wall to wall. After grinding, the floor is vacuumed thoroughly, because coating over grinding dust is coating over a release layer.
Step 3: Crack Repair, Pitting, and Salt Damage
Once the floor is ground and clean, every crack, pit, and spalled area is repaired before coating. Cracks are first opened up and cleaned out — loose material, dirt, and old filler have to go — so the repair material bonds to solid edges instead of bridging over debris. They are then filled with a suitable repair product and ground flush once cured. Control joints are either filled for a seamless look or honoured and re-cut through the coating so the slab can still move where it was designed to move.

Pitting and salt scaling get the same treatment at a wider scale. Shallow pits are filled and levelled; deeper spalls are patched so water, salt, and dirt have nowhere to sit under the new surface. This is painstaking work on a badly salt-damaged slab in Current River or Port Arthur, where the worst pitting follows the tire paths — but it is what separates a finished floor that looks smooth from one that shows every old wound through the coating. It is also why a decorative flake system is such a popular choice here: once the damage is properly repaired, the flake finish is forgiving of the minor texture differences that remain in an older slab, while adding slip resistance for wet boots and melting snow.
Oil contamination needs special attention. Oil soaked in over years will repel a coating if it is only ground lightly, so contaminated areas may need deeper grinding, degreasing, or in severe cases removal and patching — and a good installer will say so up front rather than coat over it and hope.
Step 4: Moisture Testing — The Step That Decides Timing
Concrete can look dry and still be releasing moisture vapour from below, and that vapour will push a coating off from underneath — bubbling, blistering, and peeling it in sheets. Moisture testing is how that risk is measured before coating, not discovered after. It matters in any city, but spring in Thunder Bay makes it critical: snowmelt saturates the ground, the water table rises, and slabs — especially older ones that may have been poured with little or no vapour barrier underneath — can carry that moisture upward for weeks after the surface looks dry.

Installers use a few methods, often in combination. The plastic sheet test is the simplest: a sheet of plastic is taped tightly to the slab for a day or so, and condensation under the sheet or a darkened slab underneath signals moisture moving up. A pin or pinless moisture meter gives a quick reading at the surface. More formal relative humidity or calcium chloride testing measures vapour more precisely when a floor is borderline. Whatever the method, the result decides the next step: proceed, wait for the slab to dry, or use a moisture-mitigating primer.
Skipping this step to keep a schedule is one of the most expensive mistakes in this trade. A moisture problem shows up months later, after the floor looked perfect, and fixing it means removing the failed coating and starting over. Workshops and warehouses getting industrial coatings are tested the same way, because a large slab can vary from one end to the other.
What Skipping Preparation Looks Like a Year Later
Most early epoxy failures trace back to preparation, not product. Peeling in tire tracks usually means the coating never bonded to a smooth or contaminated surface. Bubbles and blisters usually mean moisture vapour or air escaping from unsealed pores. Cracks reappearing through the finish usually mean they were coated over instead of repaired. A floor that was ground, repaired, tested, and coated as a system avoids those failures by design — each step removes a specific cause before the coating goes down.
Preparation is also a large part of what a professional installation price actually pays for. As orientation only — not a quote — homeowners comparing estimates should expect a proper prep sequence to take a significant share of the first day or more of a typical garage job, depending on slab condition. An estimate that is dramatically lower than others is worth a direct question: what preparation, exactly, is included? If the answer is a quick wash and etch on a salt-pitted slab, the savings are coming out of the floor’s lifespan.
How to Get Your Garage Ready
Homeowners can help by clearing the garage completely, including along the walls, so grinding can reach the edges, and sweeping out loose salt and grit ahead of time. Plan for vehicles to stay out during installation and curing. If your garage has a wet corner, a crack that opens every spring, or a history of oil leaks, mention it when you book — it helps the installer plan the right repairs and testing.
Frequently Asked Questions
Can a badly pitted, salt-damaged floor still be coated?
In most cases, yes — provided the concrete underneath the damaged surface is still sound. Grinding removes the weak layer and repairs level the pits. If sections have crumbled deeply or the slab is moving, those areas need a more honest conversation about patching or replacement first.
How long does preparation take?
For a typical garage, grinding, repairs, and testing are usually completed on day one, with coating following once repairs cure and moisture results are acceptable. Damaged or damp slabs can take longer.
Is spring a bad time to book?
Not necessarily, but spring slabs need moisture testing, and some floors need extra drying time after snowmelt. Booking an assessment early lets the installer test your slab and schedule coating for when it is ready, rather than guessing.
Get Your Slab Assessed Before You Coat It
If you are thinking about an epoxy garage floor in Thunder Bay, start with the concrete. A proper assessment will tell you what grinding, repair, and moisture work your slab needs — and what it does not. Call 807-808-8701 or reach us through the contact page to book an assessment and get a clear plan for your floor.
